


Learn Foundation Paper Piecing
In today's tutorial, we'll cover everything you need to know to get started on your first foundation paper pieced quilt project.
Why foundation paper piecing (FPP for short)?
There are two reasons why I FPP. The first, precision. There is no better way of getting perfect points than with FPP. The second is, there are certain shapes that are basically impossible to create without FPP.
Do I need a special paper?
For foundation paper piecing there is no need to use a special paper. Regular copier paper will work. I have used it many times.
However, there are benefits to using foundation paper. A few of the benefits are: it's easier to fold, and remove from the back of your block at the end of your project. FPP can get bulky at some points, copier paper just adds to it.
All in all, I do recommend foundation paper if you have access to it.
Please read thru the instructions completely before starting
Fabric
FPP is a great way of using up smaller pieces of fabric. Or the wonky scraps in your scrap bucket.
What do the numbers mean?
On your FPP design you will notice each section has a number. The numbers indicate where to start and when each section should be added. Always start with section 1, and move thru the numbers sequentially.
Stitch length
When sewing FPP you will want your stitch length short, like 1.8mm. The reason for this is, the short stitch length will perforate the paper making the paper easy to remove when you are finished your block.
Supplies you will need:
- Scotch tape (optional)
Scotch tape is most handy when learning FPP. Although, I still need it occasionally. When you make an error on a seam in regular quilting, it’s easy enough to unpick and try again. With FPP there are now holes in the paper. That's where the scotch tape comes in. Although, you don’t want to use too much or it will make removing the paper near impossible. - Ruler
- Foundation Paper
- Paper Scissors
- Ruler
- Rotary Cutter
- Cutting Mat
- Pins
- Iron
- Ironing Board or Wool Mat
- Fabric
- Matching Thread
Click here to shop supplies used.
Click here to purchase the FPP template

Printing the design
When printing the design on paper, make sure to follow the directions regarding scale. Most designs need to be printed at 100%. To make sure you did print it correctly there will be a 1in. square somewhere on the paper, check that with your ruler. See Pic 1a & 1b

Step 1. Once you have your design printed, you will want to cut the excess paper off. But don’t cut on the 1/4in. seam allowance line, leave some space. See Pic. 2a & 2b

Step 2. Next, place you ruler on the line between spaces 1 & 2. Pic 3 Fold the paper back against the ruler, rub your finger along the bottom edge of the ruler to create a crease. See Pic 4

Step 3. Remove the ruler and fold the paper along the line again to make sure it's a deep fold. Pic 5a & 5b

Step 4. Place a piece of fabric for section 1 right side down on the table. Pic 6
(Section 1 is the only time you place the fabric right side down. From section 2 and on, you will place the fabric right side up.)

Step 5. Place section 1 of the paper (printed side towards you) on top of the fabric making sure there is a 1/4in. or more of fabric on all sides of section 1. See Pic 7. Pin in place. See Pic 8
When learning, I suggest being generous with your fabric pieces. It’s easier to cut the extra fabric off, then have to unpick a seam because the fabric did not cover the area.

Step 6. Fold the paper on the line between sections 1 & 2, place the rulers 1/4in. line on the folded edge of the paper and cut, leaving a 1/4in. seam allowance. See Pic 9a & Pic 9b (Remember to never cut the paper, always fold it back)

Step 7. Take the fabric for section 2, with right side up, line the 1/4in. seam allowance from section 1 along the top of fabric 2. See Pic 10a &10b

Step 8. Unfold the paper, pin along the line between sections 1 & 2. See Pic 11.

Fold fabric 2 back, making sure it covers section 2 with a 1/4in. on all sides. Holding it up to the light helps. See Pic 12a & 12b. Readjust as needed.
(Don’t forget to fold the section 2 fabric back down, fabric on fabric, before moving on to the next step.)

Step 9. Sew directly on the line between sections 1 & 2, starting at least a 1/8in. before the line, backstitch to secure and ending 1/8in. after the line backstitch again. See Pic 13a & Pic 13b

Step 10. Iron section 2 open. See Pic 14 Now that you have completed these steps, you know how to paper piece! You will now continue to work in the same manner as before.

Step 11. Placing you ruler on the line between spaces 1 & 3 this time. Pic 15. Fold the paper back against the ruler, rub your finger along the bottom edge of the ruler to create a crease. Pic 16

Step 12. Remove the ruler and fold the paper along the line again to make sure it's a deep fold. Pic 17

Step 13. With the paper still folded on the 1 & 3 line, place the rulers 1/4in. line on the folded edge of the paper and cut, leaving a 1/4in. seam allowance. Pic 18

Step 14. Take the fabric for section 3, with right side up, place the 1/4in. seam allowance along the top of fabric 3. Pic 19a & Pic 19b

Step 15. Unfold the paper, pin along the line between sections 1 & 3. Pic 20. Fold fabric 3 back, making sure it covers section 3 with a 1/4in. on all sides. Readjust as needed. Pic 21

Step 16. Sew directly on the line between sections 1 & 3, starting at least a 1/8in. before the line, backstitch to secure and ending 1/8in. after the line backstitch again. Pic 22

Step 17. Step 10. Iron section 3 open. Pic 23

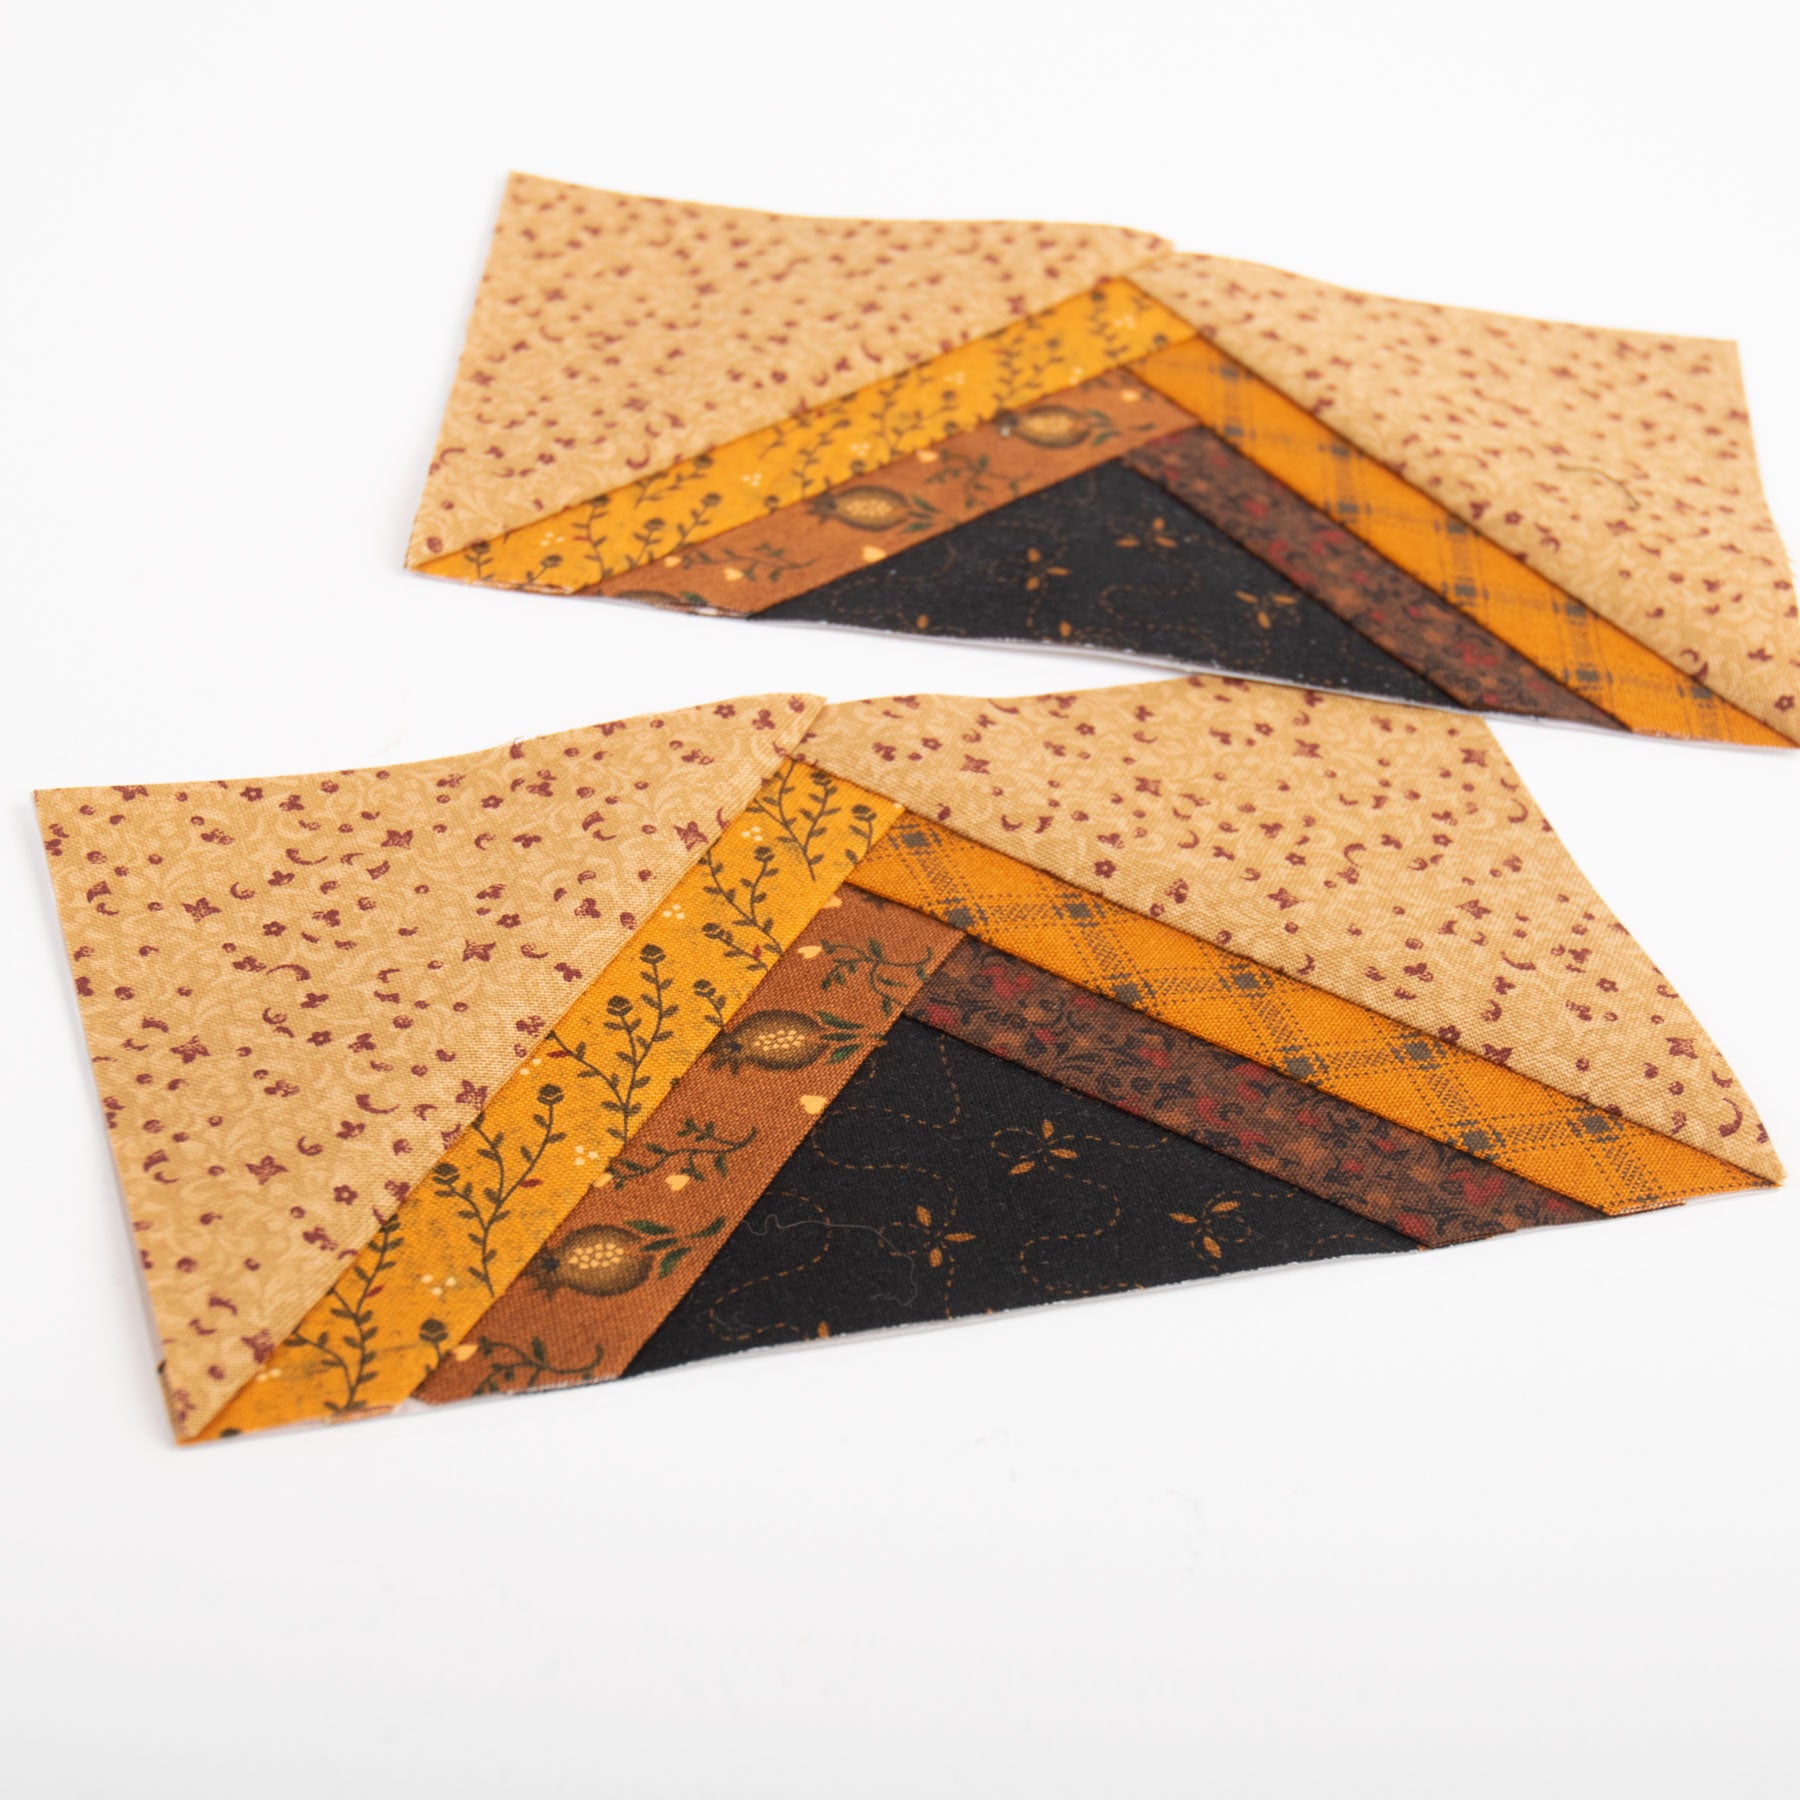
You will continue following steps 11- 17, moving thru sections following the section numbers sequentially 4, 5, 6, and so on. Pic 24. Once you have add fabric to each section, it’s time to trim the block.
Trim your block making sure not to cut off the 1/4in. seam allowance are the block. Pic 25

If you have any questions about this tutorial, feel free to drop them in the comment section below!
Happy Quilting!
-Meg
Leave a comment